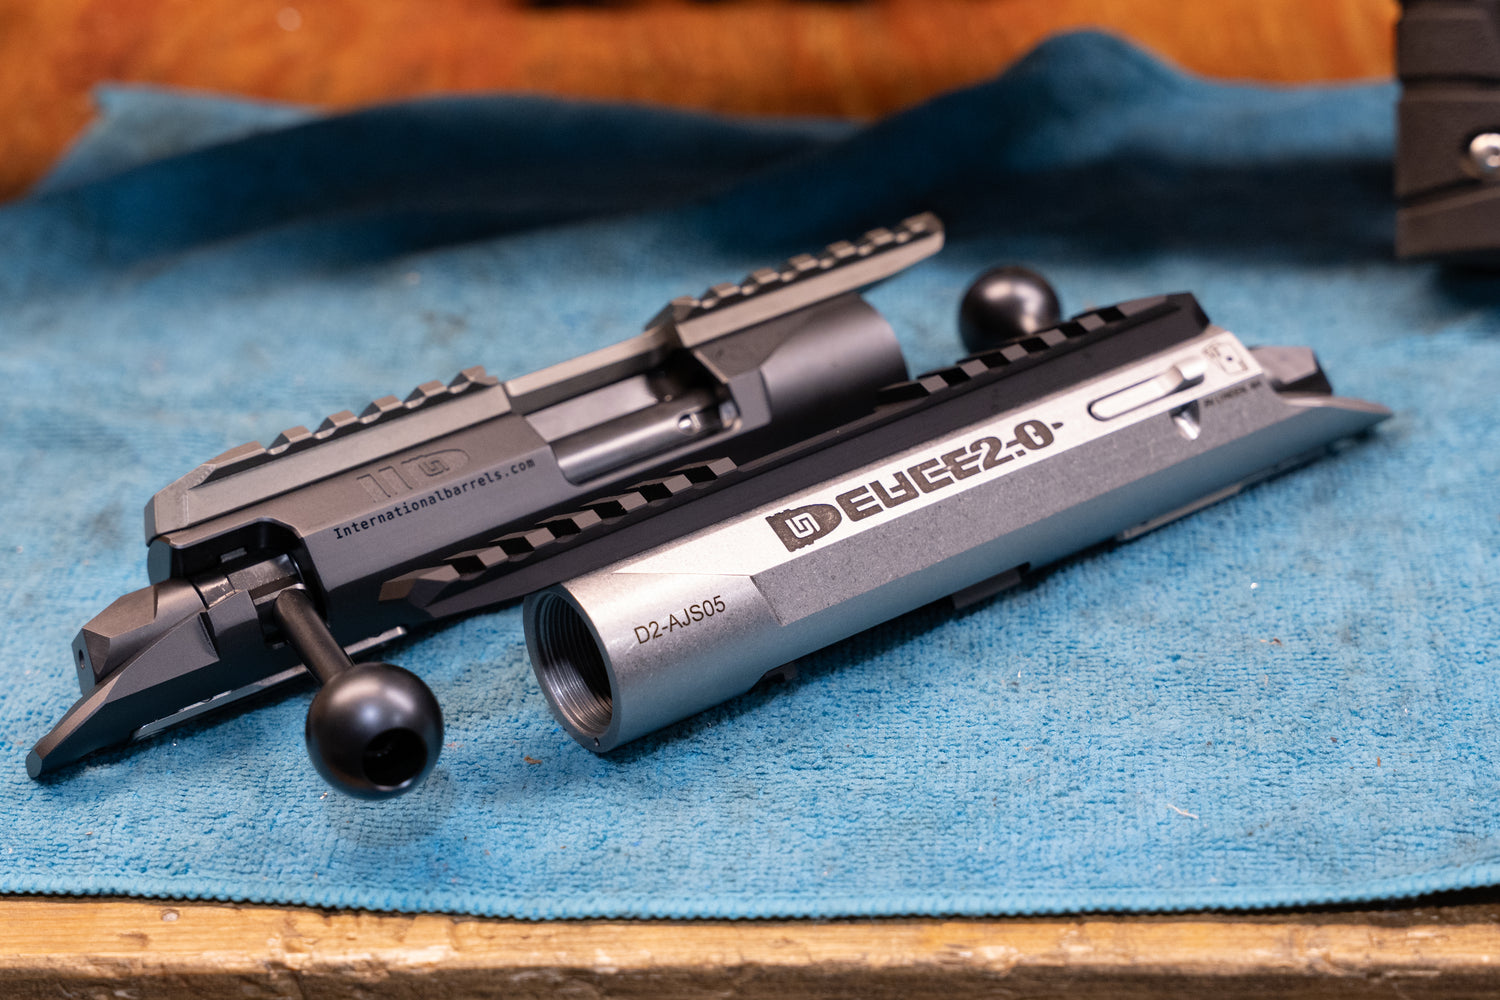
Hey gang! Hope you are all enjoying your summer shooting season! I am always looking for small ways to improve the reliability and accuracy of the Deuce 2.0.
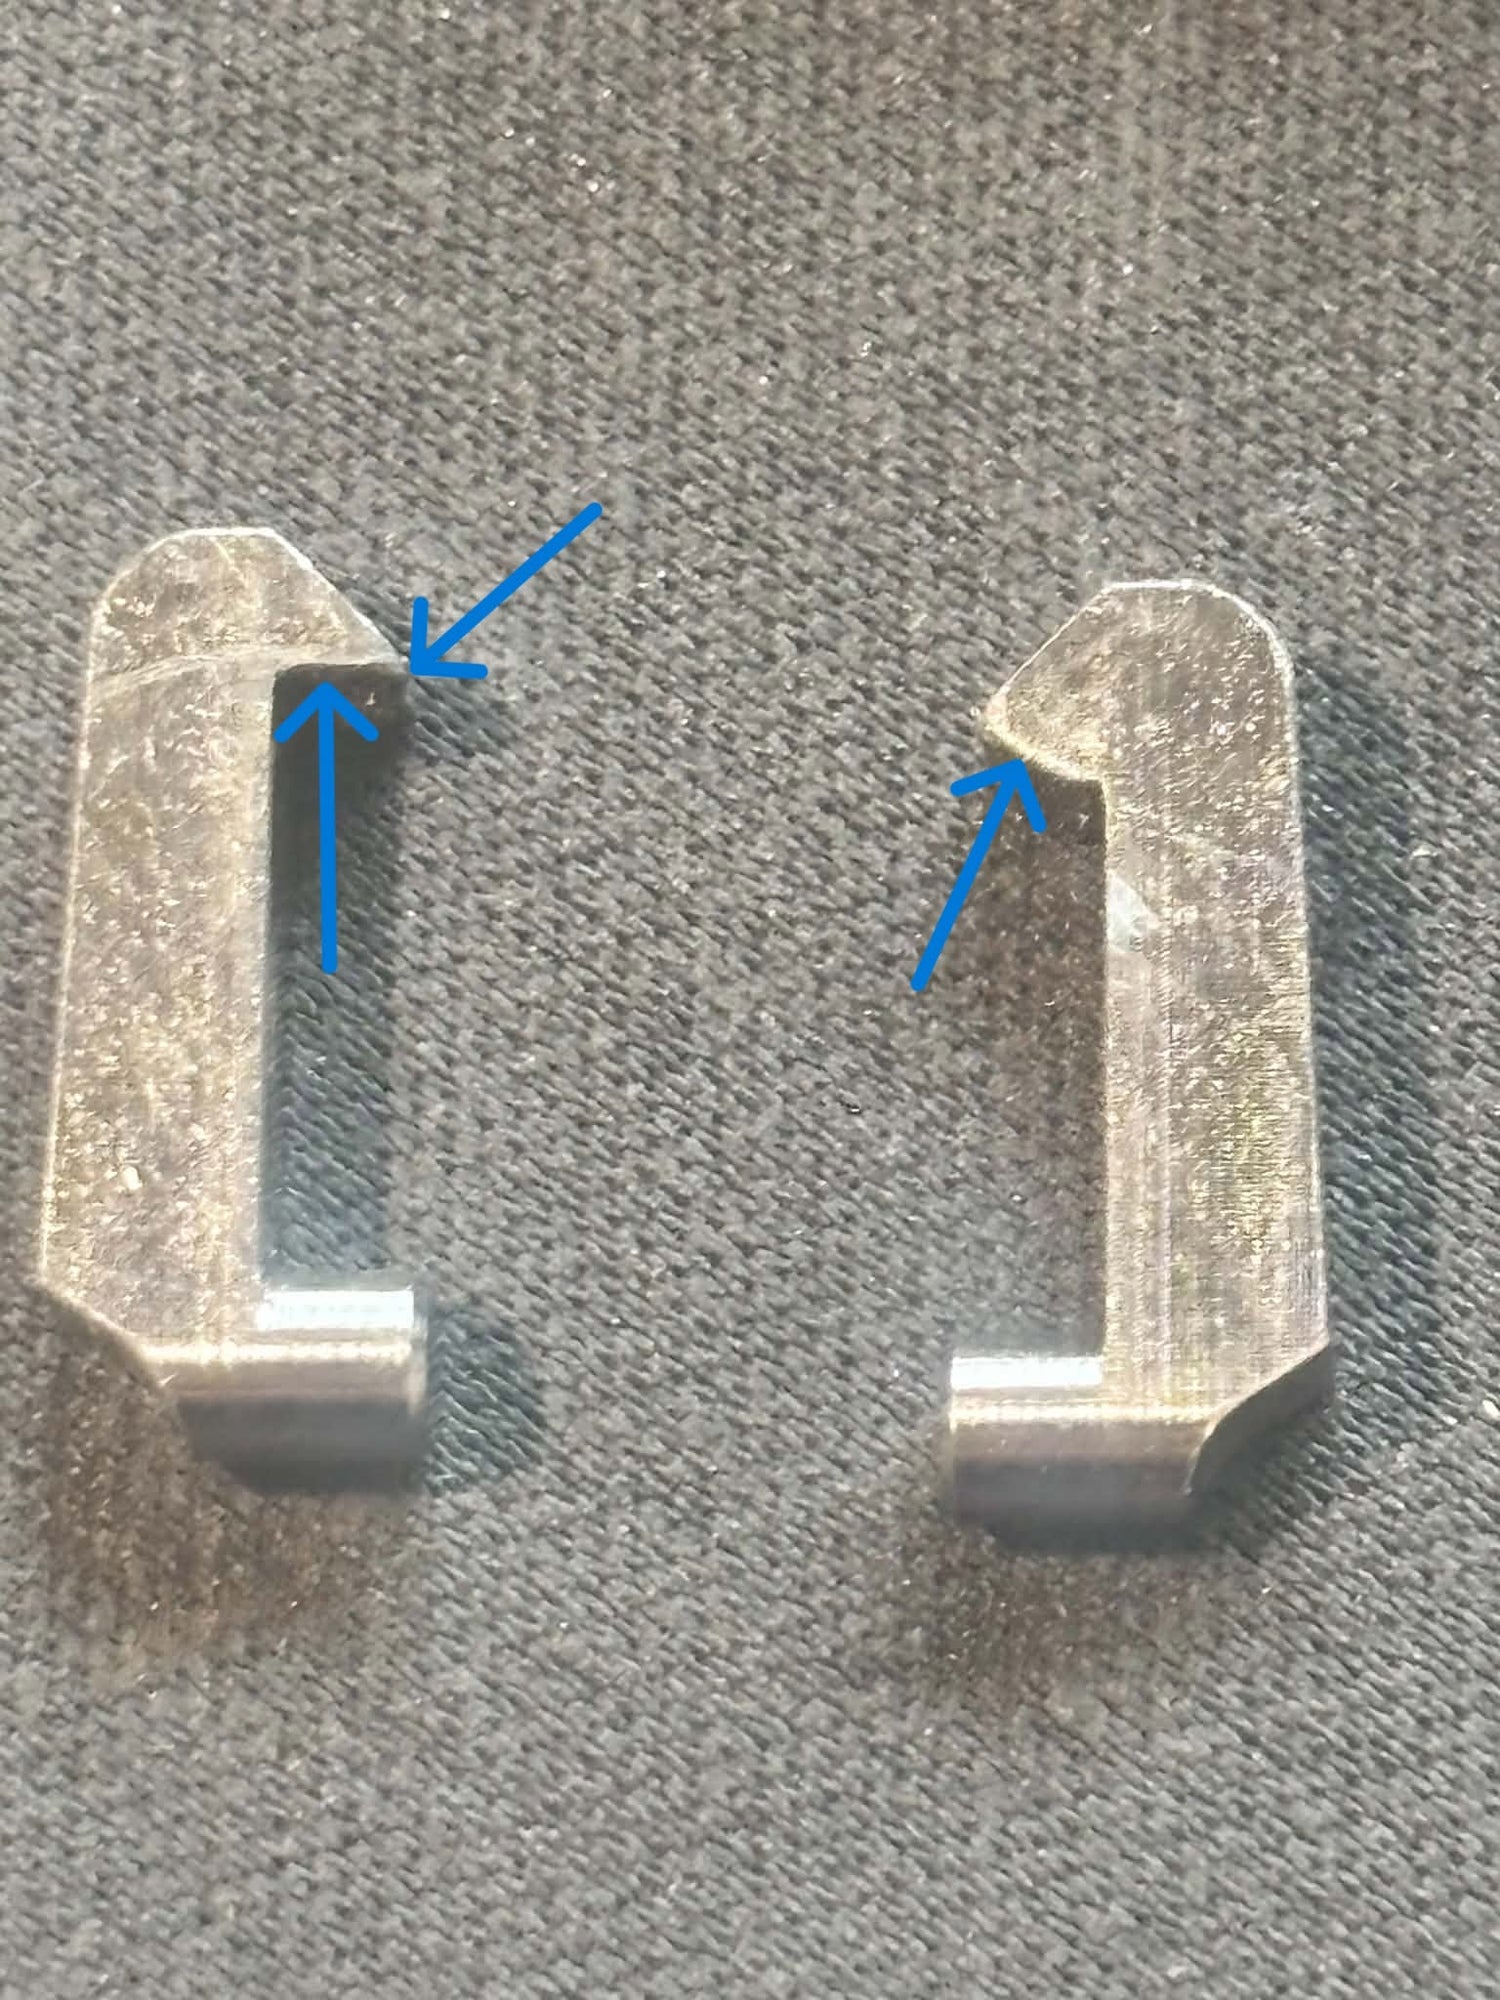
One thing that has been pointed out is that the bottom edge of the extractor and the guide, and the sharp edge on the bottom corner of the extractor side, can use a little polishing. Doesn't take much, but it seems to really help in a couple of ways.
#1. Feed. Obviously, if you have a sharper edge down there, we may get a bit of a hang up.
This leads into #2.
#2. This seems to help get rid of any hesitation on bolt cam over, especially on shouldered barrels. We aren't seeing it much on the barrel nut prefits, BUT with that said, it can't hurt, and I have done it on mine now and will test tonight. More to follow there.
The basic gist of what is happening is that with a sharper edge on the bottom of the extractor, it may not allow the case rim to move completely up to the top of the bolt face. As the bolt goes forward, if the case is even a thou or two off the top of the bolt face, now you have to overcome a slightly nose-up projectile feeding into the chamber instead of going straight in. This appears to cause the hesitation that a few folks have seen on cam over. As I said in the podcast, we are touching up the cocking ring angles on the lugs to help with that as well.
Last night I ran two bolts in testing.
#1 had no extractor polishing and a cocking ring with changed angles. The result was better, BUT occasionally I still got a bit of hesitation on bolt close.
#2 had polished extractors and the cocking ring with changed angles. I did find that this seemed to get rid of any bolt forward cam over hesitation.
For giggles, I put on a cocking ring with unmodified angles on this one. I found that this also performed perfectly with zero hesitation on cam over. Only thing different was the polished extractors.
One other thing that may or may not be coincidental was that it shot a little better. Now I WAS playing with a couple other things at the same time, so my thoughts here are not confirmed at all, but it kinda makes sense. If you are having to drive the case home that is not in direct alignment to the chamber, however minute that might be, you may be putting a bit of a mark or dent on the projectile as you push her forward into full engagement into the chamber. Over-exaggerated pic for reference.
So with that said, you can remove your extractors to give them a little help as follows.
To remove the extractors, you kinda need six hands. A tiny screwdriver seems best. Slip it in between the extractor and the pin that is under it where the red arrow is showing. Push the pin down, and your third hand should be able to pull it or even shake it free. Might want to do this somewhere that will capture the pin and spring (ziploc freezer bags are great for this) if, for some reason, you slip and they come shooting out. Ask me how I know...